

{This has been the scene of many mornings lately... and recently drives home due to the drifting snow!}

{I feel like we are in Alaska! We were checking out the local major river---that is ice jammed. If you look behind my biggest's head---you can see ice blocks that have "washed" up ashore!}
I wanted to start a little series on my blog called "What We're Writing Wednesdays" but, it has been next to impossible to get anything together to show you! So, this was a project that took us a few weeks to complete, but not because it was a long project... but we had too many delays and days off!
(I'm sure you have seen this all over pinterest, especially a few weeks ago)

This is the way I completed this project with my kiddlets:
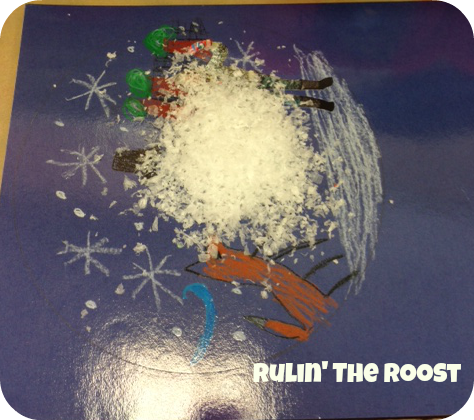
Trace the clear plates (or bowls; that you would get at Party City; I got the big dinner plates, cause they are first graders, and need lots of room to draw!) onto blue paper.
Students drew a winter scene inside---NOT drawing themselves. While they were doing this, I had them get on their jackets, hats, scarves, etc.. and had them pose. They were either super excited with hands in the air or they were freezing, hugging themselves. They got to choose.
I printed the pictures 5X7 size. Kids cut and glued (actually, I had to save time. I cut them out, they glued). I laminated the pictures.
Then the students wrote. I wanted them to write using their senses, but we just didn't have time. :( So, the kids wrote a "first, next, then and last" narrative (CCSS aligned!) about the day they were stuck in a snow globe. We talked about having one of the "steps" be that the globe got all shook up (and it might have messed up a snowman they were building, etc.) Of course, some of my babes "missed" that info and just wrote about the fun things they did while they were in there---and that was okay, because we had days in between these steps. While they were writing their final copies, I got the globes all snowy and glued. I took a few pics while doing it, to show you what I found to be helpful. (PS-I got the fake snow from Hobby Lobby on New Years Day at 70% off. I bought 10 bags, not knowing what I would need.... I only needed ONE bag for my 19 kids. I now have 10 years worth of snow---that I paid $10 total for! lol)
Put a few handful of "snow" in the center of the drawn picture.
Start a little hot glue on one of the sides and place the plate down.

Jam the glue gun underneath the plate and squirt away---around the plate, making sure the BOTTOM of the plate is "hole-free" and secure! Your custodians will thank you!

Staple the writing page below. Hang in the hall for one spectacular display! I can't believe all the people who stopped in my room just to say how adorable they were! (I had figured that everyone saw them on Pinterest already)

Want the printable? Click below!


What are you working on in your writing this week?

i love this idea! how cute!
ReplyDeleteI just found your blog via IG. I have been reading it and enjoying it a lot! These are wonderful. I've seen a lot of snowglobe projects over the years (and even made some); but I have to say- these are the cutest ones I've seen yet!!
ReplyDeleteMelissa
Keep Calm and Love First Grade
Love this, thank you so much!
ReplyDelete